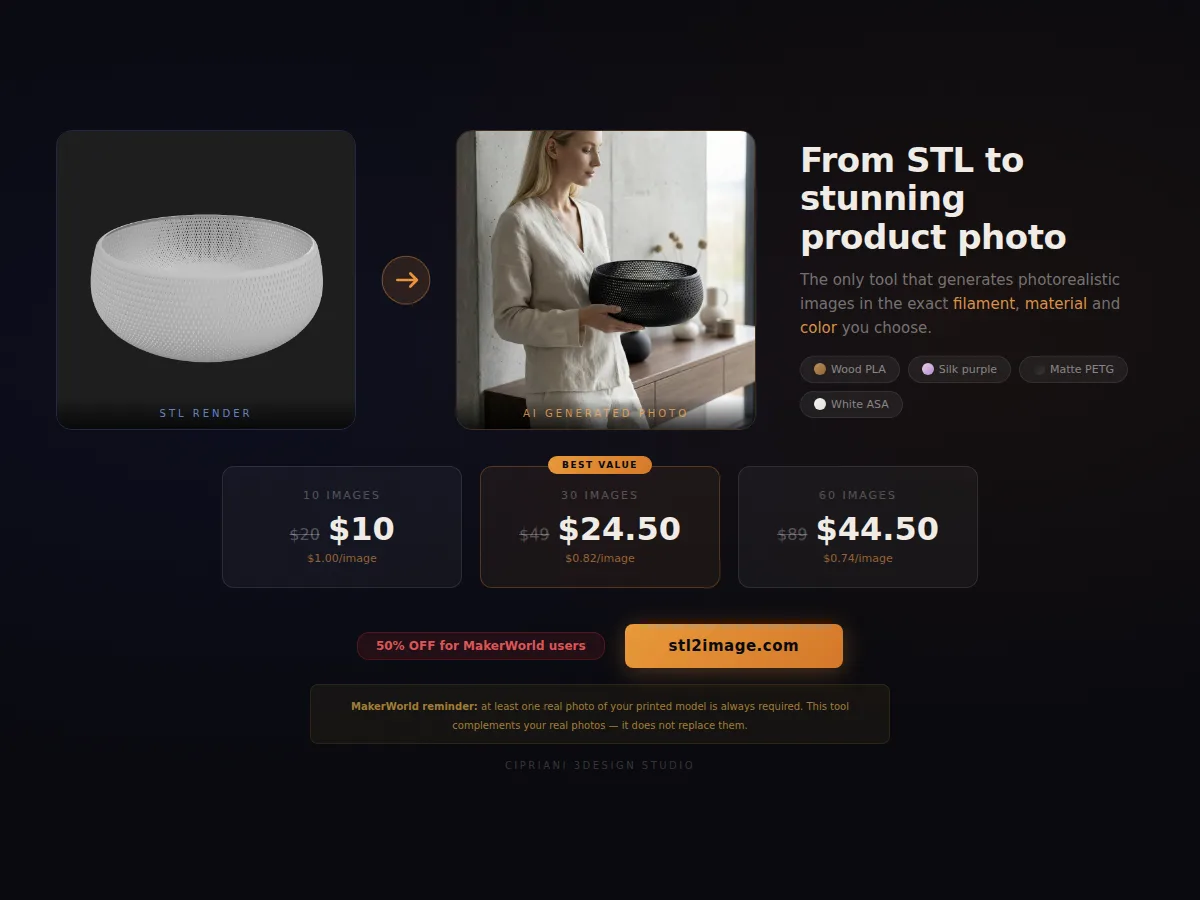
Can an STL become a product photo?
Yes. An STL-to-product-photo workflow reads the 3D file as the object source, then uses AI to render it in a selected filament, color, material finish, camera angle and scene.
This is useful for designers who need launch images, sellers who want color variants, and makers who want to test visual direction before printing multiple prototypes. It is not a replacement for platform-required real photos, but it is a strong addition to a listing gallery.
STL to product photo workflow
- Start with a clean STL or OBJ file with the correct scale and orientation.
- Choose the filament type, material finish and color that match the intended print.
- Select an aspect ratio for the destination: marketplace square, wide hero, social crop or detail image.
- Use a scene that explains the product use case without hiding the geometry.
- Review whether the generated image preserves the real proportions and important features of the model.
Camera photos vs AI product photos
| Use case | Real camera photo | AI from STL |
|---|---|---|
| Proof of printed object | Best choice and often required by marketplaces. | Use only as supporting imagery. |
| Color variants | Requires multiple prints or careful editing. | Fast way to preview filament options. |
| Launch before full shoot | Blocked until the print and setup are ready. | Useful for concept, teaser and draft listing images. |
| Lifestyle scenes | Needs props, space and lighting. | Can create contextual scenes quickly. |
How to choose the right scene
The scene should make the object easier to understand. A lamp belongs near a wall, shelf or bedside context. A tray needs a surface and scale cues. A planter benefits from plant context, but the plant should not cover the printed geometry. If the background becomes more interesting than the model, the image is doing the wrong job.
For marketplace thumbnails, prioritize contrast and silhouette. For listing detail images, use closer angles that show texture, layer behavior, openings and scale.
Marketplace usage
Use AI product photos as part of a broader gallery: one real printed hero photo, one or two detail photos, one scale/context image, and one or more AI-generated scene or color images. This combination is especially useful for MakerWorld, Etsy, Printables, Thangs, Cults3D and social previews.
STL2Image is built specifically for this step: upload an STL or OBJ, choose material controls and generate product images that respect the source file proportions.
STL to product photo FAQ
Can an STL file be turned into a product photo?
Yes. AI can use the STL or OBJ as the product source and generate a photorealistic image around it.
Do AI product photos replace real photos on MakerWorld?
No. If real photos are required, use AI images as supporting visuals alongside photos of the physical print.
What is STL2Image used for?
STL2Image creates AI product photos from STL and OBJ files, with controls for filament, material, color, scene and aspect ratio.